The Ofishal Waffle Iron
-
Objective
Gain familiarity with product realization by making anything you want! Minimum of two separate manufacturing processes must be used.
-
Outcome
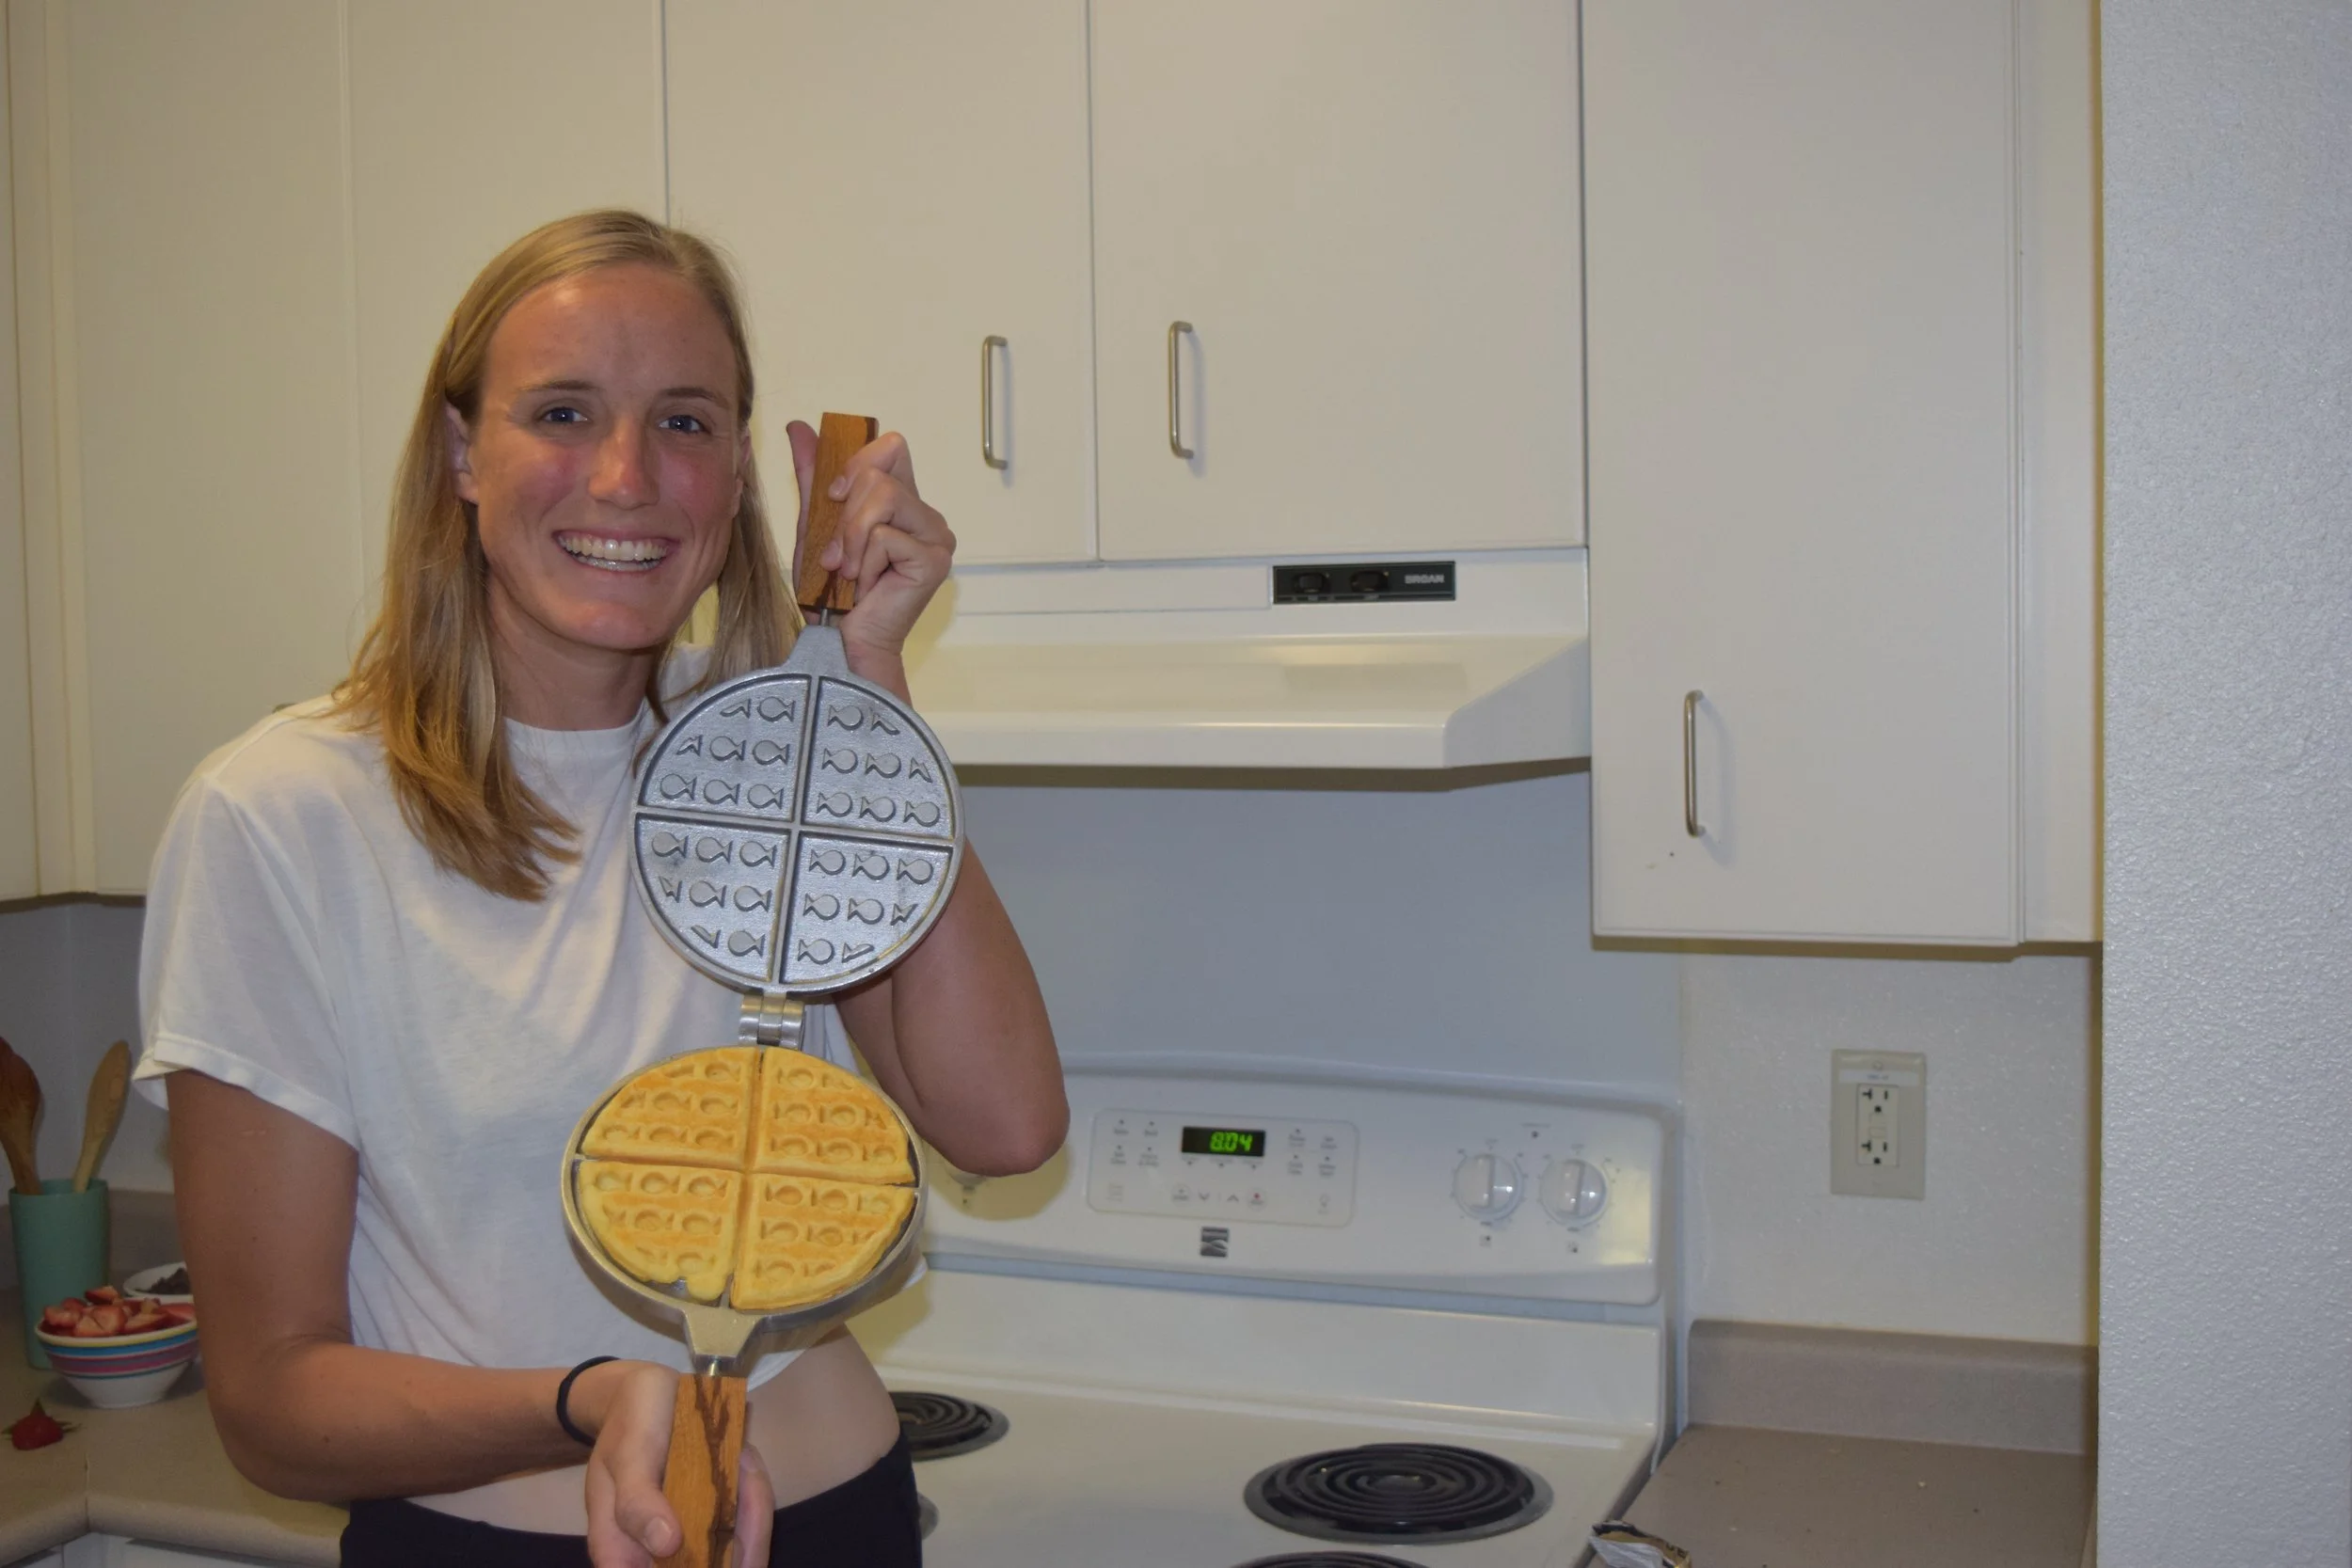
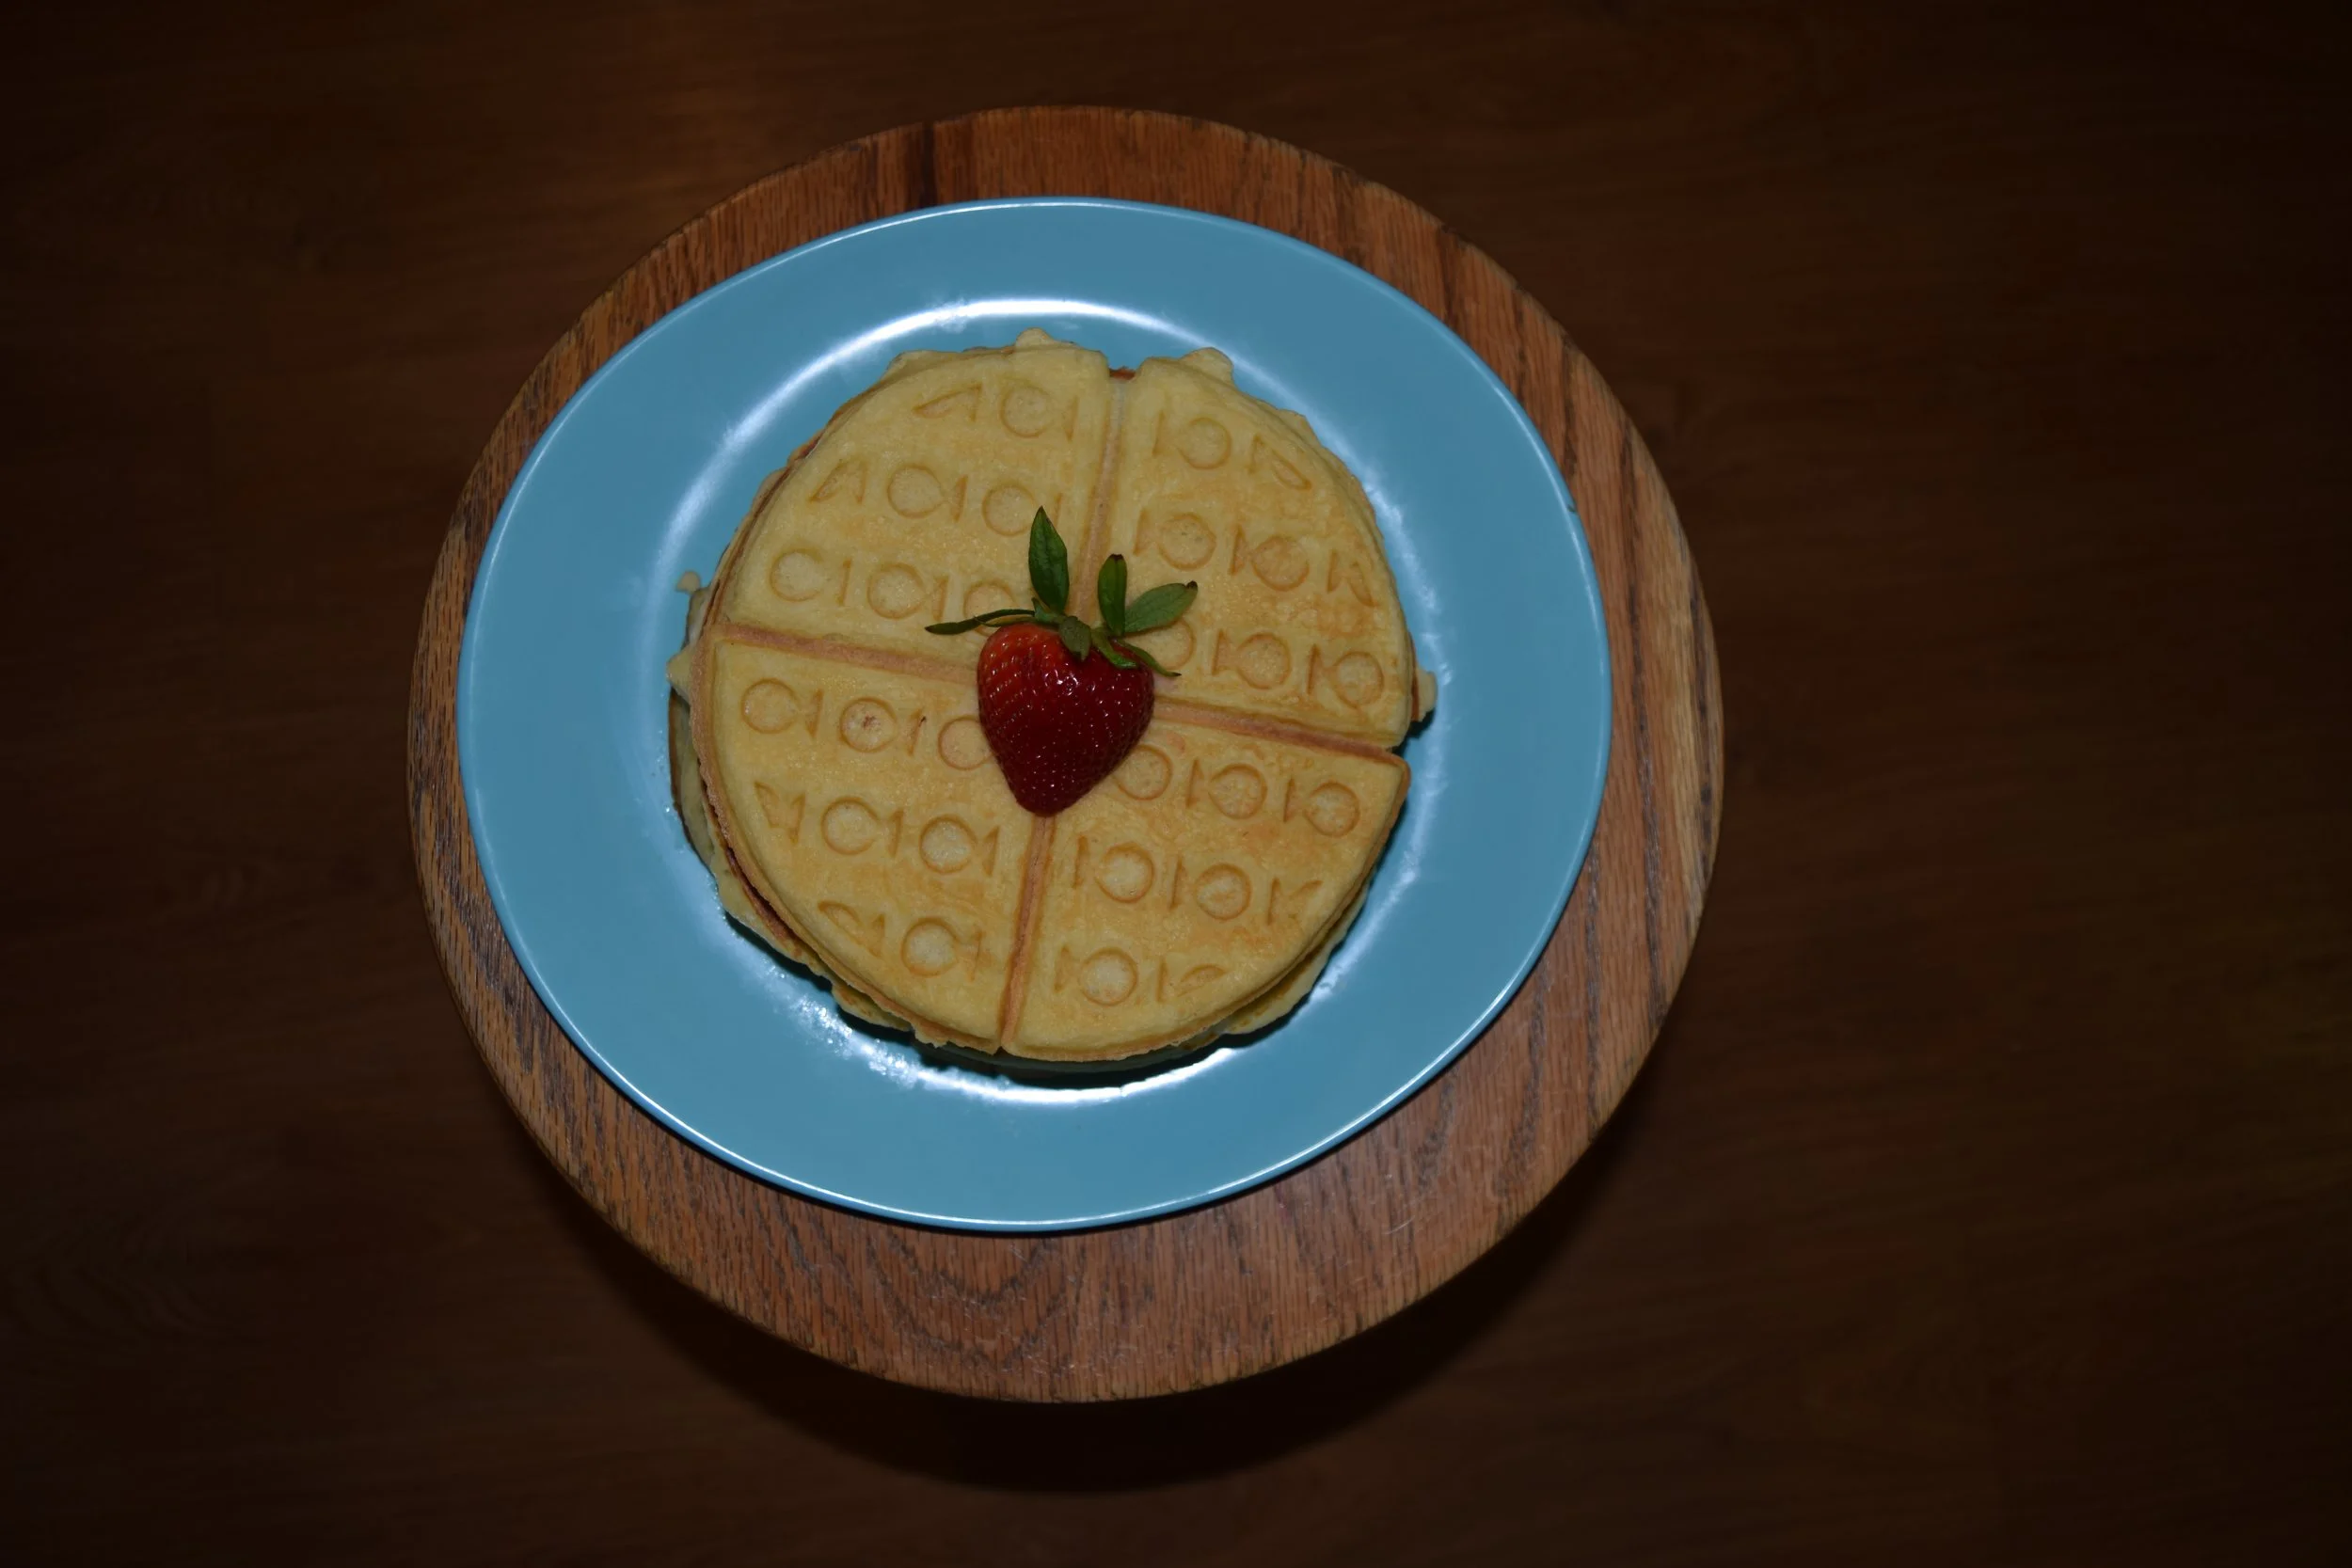
A waffle iron with fish instead of the traditional squares, inspired by my love for sweet breakfast foods and my nickname “Fish” (admittedly somewhat egotistical).
The Process
Step 1: Pattern Making
The pattern was made using a variety of processes, including laser cutting, 3D printing, woodworking, and wax filleting.
Step 2: Sand Casting
By step 2, I really mean step 2-10. Lots of iterations were done trying to fix problem areas on my pattern that did not have the required draft. Eventually after a lot of fine tuning, I cast two halves that I was happy with!
Step 3: Post machining on Mill
One of the more clever aspects of my design was making the hinge in a way that I could use the same pattern for both faces of the waffle iron. In my pattern, I made the hinge a solid chunk of material that I could post machine on the mill. On one side, I machined away the inner portion of the hinge, and on the other side, I machined away the outer portions of the hinge. Due to the strange geometry of my part, fixturing to the mill posed a challenge in which I had to find creative solutions. Tolerances were critical, adding another layer of difficulty.
Step 4: Turning Wood Handles
In my opinion, the wood lathe is straight up cathartic. So much so, that on my first time turning the handles I took away way too much material, ending up with a handle that would be far more appropriate for a utensil. However, on my second try, I came out with handles I was very pleased with!
Step 5: FEAST!
1/2 way between an eggo and a traditional waffle… Fish-sized holes perfectly optimized for collecting the right ratio of syrup… What’s not to love?
Skills Learned
-
In order to simplify my design, I wanted to make sure that I only had to make one sandcasting pattern. This meant I had to think of a clever way to come up with how to make the hinge. I spent a long time on CAD trying to think up an appropriate mechanism, but I wasn’t getting anywhere. I realized getting something physically in my hands might help to make the design space concrete. By simply using some foam, I was able to come up with an appropriate mechanism in about twenty minutes. In this moment, I realized the power of low fidelity prototyping and have continued this forward in all of my subsequent projects!
-
This was my first introduction to many prototyping processes. It was my first time 3d printing, laser cutting, woodworking, sandcasting, and machining! It was inspiring to know that I had the tools to make anything I could possibly dream up. This project is when I knew I had picked the right major as I was able to engage my left and right brained selves!


