Hippie Clippie
-
Objective
Design a part or family of parts that can be injection molded in the PRL. The part(s) should demonstrate an exciting functionality--think fun, artistic, interesting. The part(s) must physically interact with multiple copies of itself and/or should interact in a meaningful way with an existing part or assembly.
-
Outcome
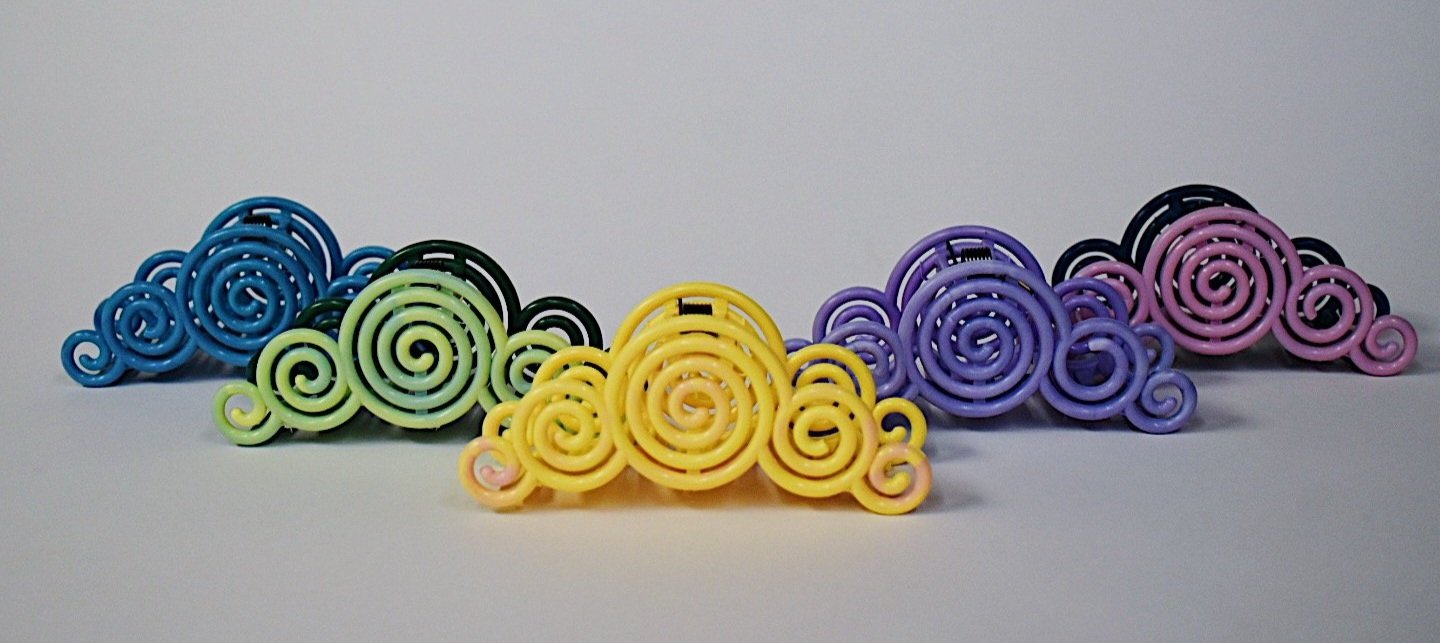
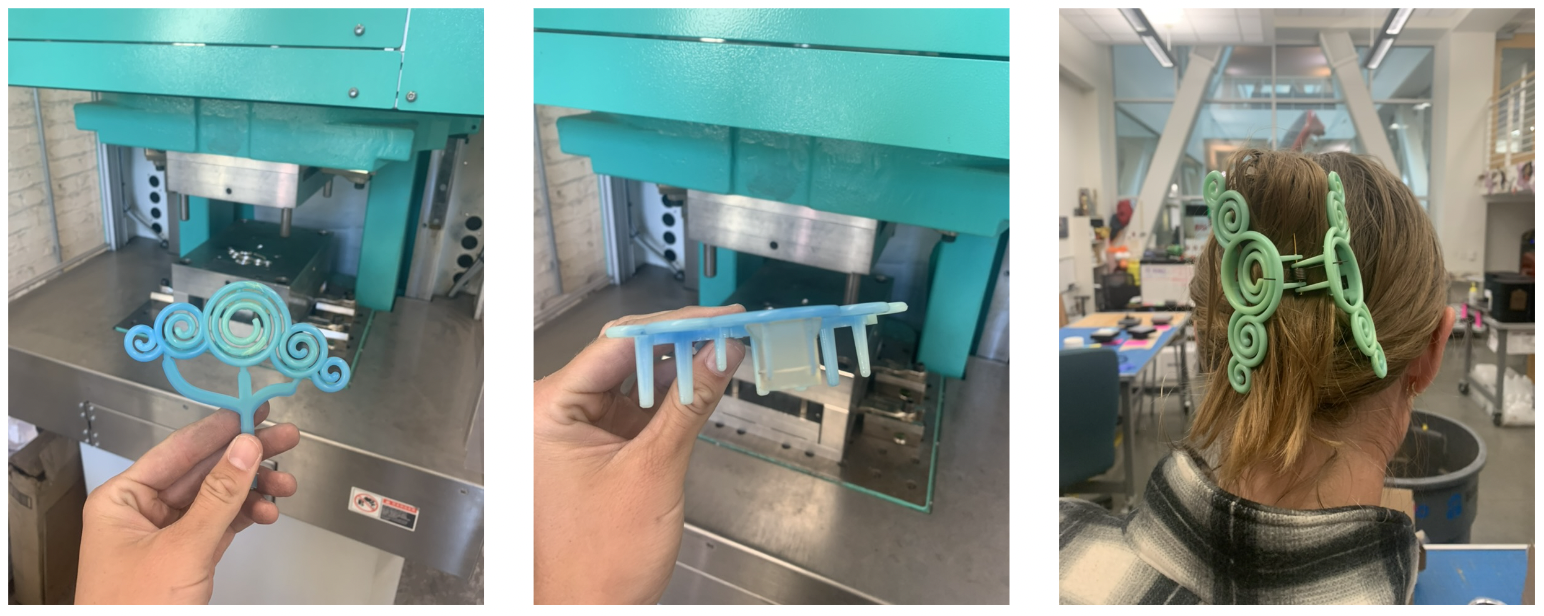
Since injection molding is so well suited for making multiples, I wanted to make something that could be handed out to friends to spark joy! I ultimately landed on making a claw clip with the idea that an intentional design would allow me to make only one mold where two of the same parts could form a whole.
Preliminary CAD
I decided to stick with the quintessential claw clip design as my part required a lot of challenging features already (nonplanar parting line, insert/sliding shut off, ejector pins).... Despite keeping the claw clip design “simple”, it took a ton of iteration in CAD to finally get the organic shape right.
CAD Cont. (but make it fun!)
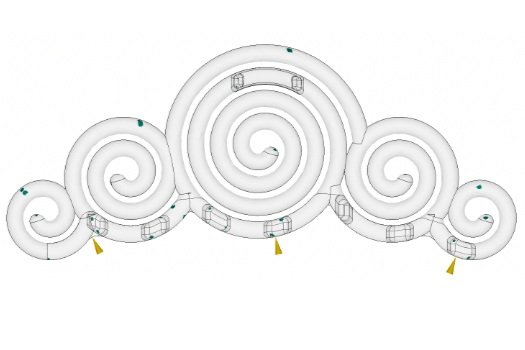
After finally getting the shape of the claw clip right, it didn’t sit right with me that I was going to spend so much time designing something I could easily buy at a store. I felt a strong urge to add some personal detail that would make it my own. With that being said, I still wanted the shape to be organic and classic so that the clip could be worn everyday. I ultimately landed on a spiral design, a shape I have loved since I was a kid!
Final CAD
While I really liked the initial spiral design, I was not a huge fan of the straight line on the bottom as well as the hand grip. To fix this, I decided to try to hide the hinge and teeth features so only the spirals would be visible when worn in my hair. I wasn’t sure this would be feasible, but eventually my final design was born!
Insert Design for Hinge
In order to form the horizontal hole required for the hinge, I chose to use a 3D printed insert that would allow a paper clip (to avoid purchasing dowel pins) to be seated in it. The hinge was also the part of my design that I was least confident about and I felt that 3D printing new inserts would be far easier than remachining a new mold with each hinge iteration.
Mold Flow Simulations
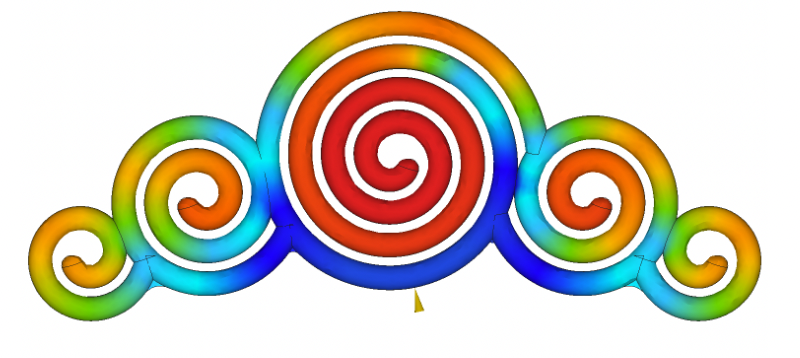
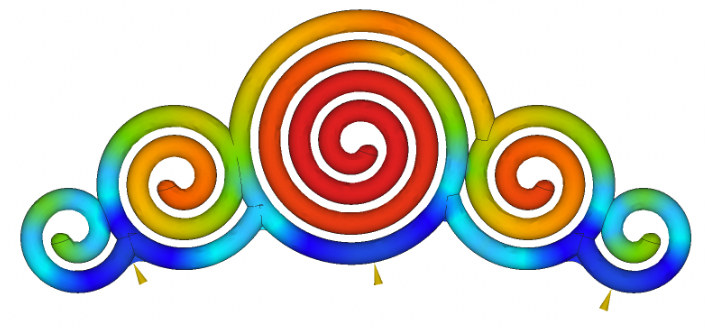
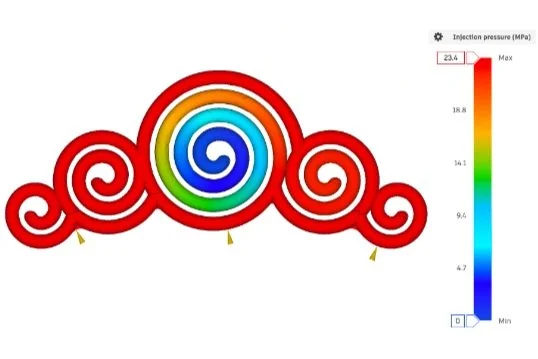
The teeth are the deepest (and thus thickest areas of my design), so I figured gating into those would be best. I simulated using 1, 2, and 3 gates into the teeth to see what would work best. While all three of these scenarios were similar, adding a third gate leads to most even filling along the bottom surface (where teeth are located), so I chose to go with this configuration.
Single Gate
Double Gate
Triple Gate
More Simulation Results
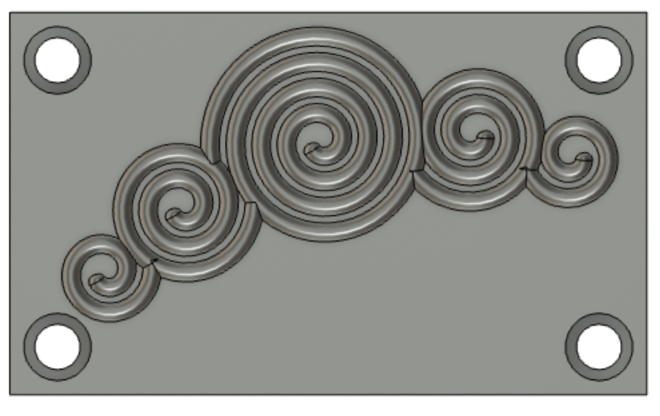
Mold Design
A-Side
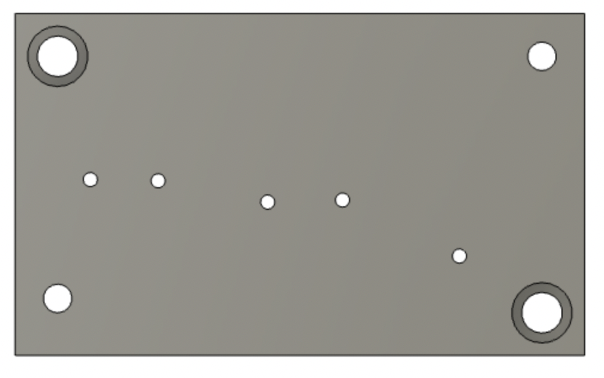
B-Side
Ejector Retainer Plate
First Shots! :)
Honestly, the first shots were not pretty but they highlighted several problems I needed to trouble shoot! Because the plastic needs to follow the entire spiral in order to fill entirely, plastic solidified before reaching the center of the middle spiral. Despite playing with many injection parameters such as injection velocity, dosage volume, and clamping pressure, nothing seemed to fix the problem and I often accidentally overpacked the mold.
Hinge Prototyping
Although I couldn’t get the part to fill completely, the hinge filled easily, allowing me to test out that mechanism!
Spring rotates due to lack of constraint.
Does not hold hair well.
Preloaded spring to produce more force.
Holds better but still not well.
Claw Clip 2.0
V2.0 Results
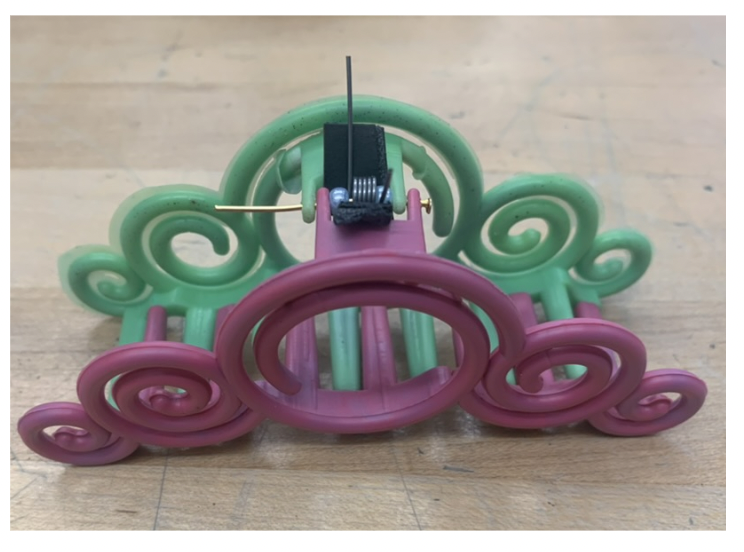
By simply adding the two bridges around the hinge, the part filled so much better (although still not completely). The new hinge was also wildly improved but I was still disappointed with its inability to grip my hair. As you can see, the spring is torquing the swirl, not the teeth. I figured adding a bridge along the bottom could both help with better filling and torque transfer.
V3.0 Results
Adding the bridge along the bottom solved the problems it set out to solve! The clip finally clips!!
